
It simply wouldn't do to leave that hole there. The whole point of any boat is to keep the water out as you propel it across a body of said water.
Now, if I only paddled this boat on dead-calm flatwater, I could get away with leaving that hole there. It's in the deck, after all, and only the hull would be contacting the water.
But this boat happens to be a surf ski. That means the paddler might want to take it out in the surf, be it out at sea or behind a big barge rig on the Mississippi River or behind motorized boats on the lake. And in that situation the waves have a way of crashing over the deck, and the water would rush right through that hole and you'd have yourself a swamped-out boat in a hurry.
Okay, I'm being tedious and pedantic here. The point, of course, is that I needed to seal this hole up somehow. I could have done a permanent fix by taking the cutout portion and cementing it back in place with fiberglass and epoxy resin. But there are two drawbacks to that approach: (a) while one of the experts I mentioned in my last post could probably do a beautiful job repairing the gelcoat so that you could hardly tell the hole was ever there, such a repair done by me would probably look ugly; and (b) I might actually want to get back inside the boat again sometime... those rudder-line tubes might need replacing again in another six years.
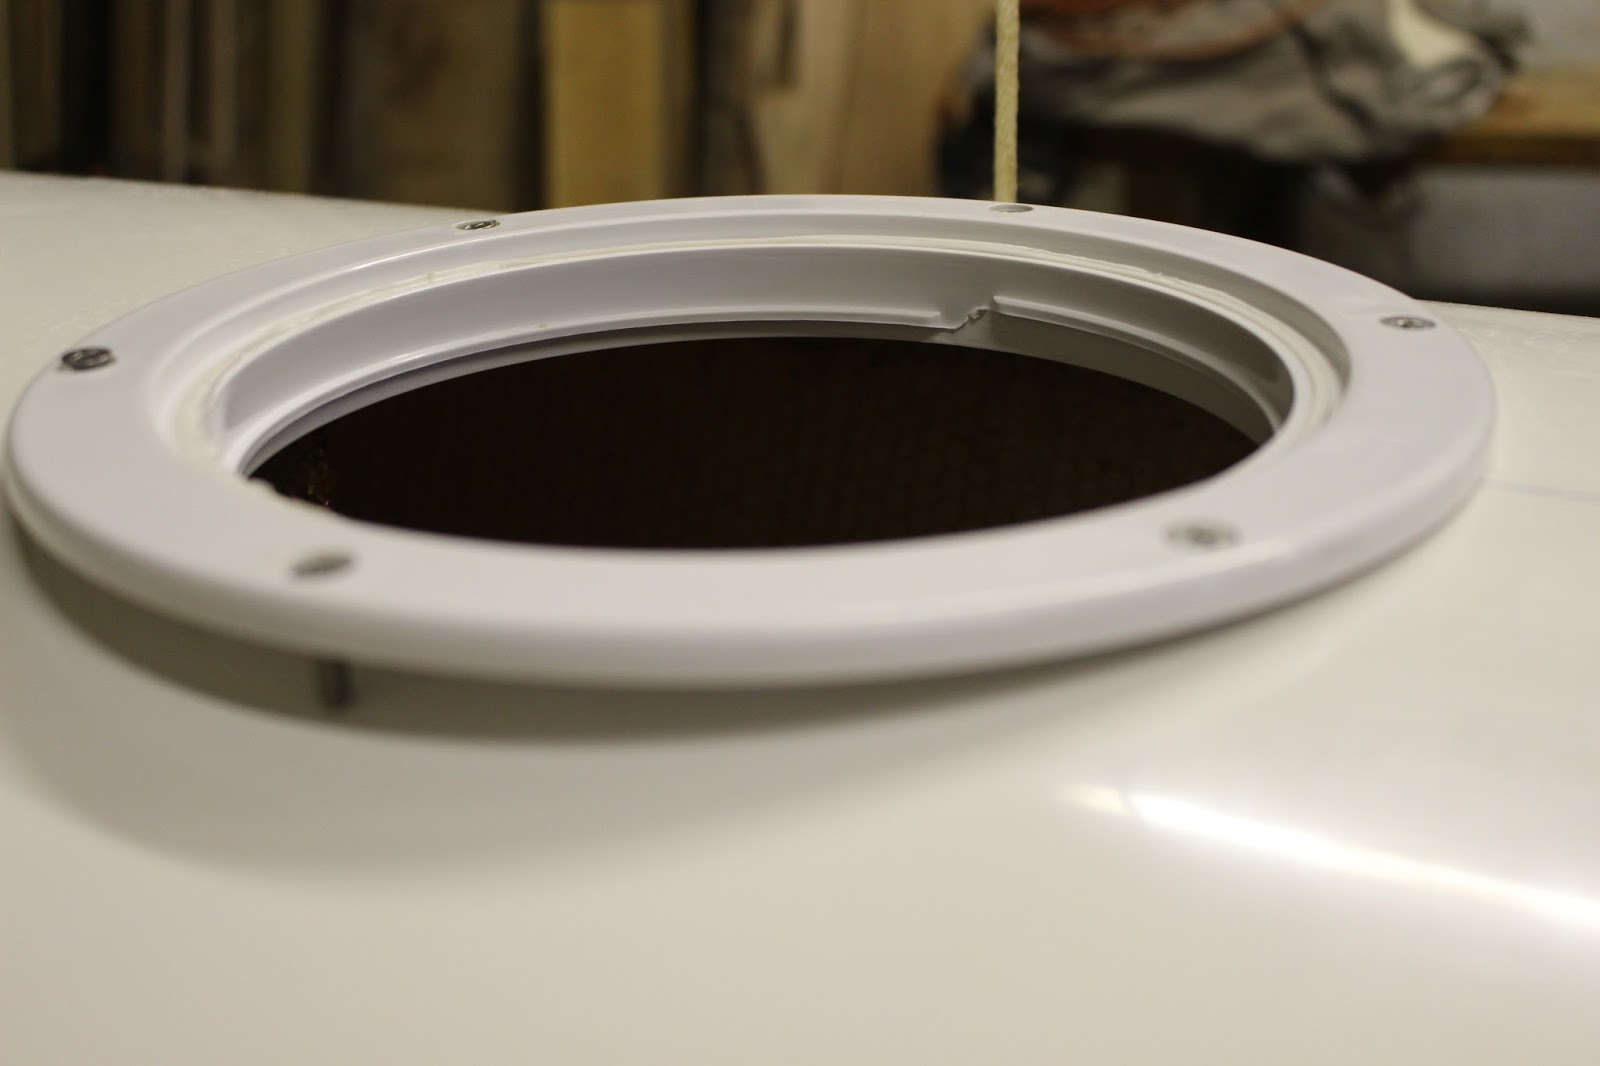
Happily, there's a nice neat solution: a screw-in marine "inspection" hatch. Here's an 8-incher I found online:

I ordered this one from an Ebay seller, but I expect you can find one at a typical marine supply store, too. I'd cut my hole so the rim would drop right in, so all I had to do after that was attach it with stainless machine screws and an adhesive sealant.
One little problem is that the deck has some curvature to it, so the hatch rim wouldn't contact it all the way around:
To some extent I could tighten the screws and pull the rim flat against the deck, but I didn't want to be too aggressive with that because if the rim took on the deck's curve the lid wouldn't screw in properly, and it might put undue stress on the deck. So for the most part I chose to let the hatch and the deck keep their respective shapes and fill in the gaps.
First, I applied G-flex epoxy to the twelve o'clock and six o'clock areas of the rim's underside, put the hatch in place, and tightened the screws at eleven o'clock, one o'clock, five o'clock, and seven o'clock:

Note that I screwed in the lid to keep the rim from taking on too much of a curve. Also, I'd sanded all the mating surfaces so the G-flex would stick well.
Next, I filled in the gaps where the deck curves away from the hatch. For this job I used a thickened version of G-flex epoxy (also available from Sweet Composites). This version has the consistency of toothpaste, and fittingly enough, it comes in tubes:

Both kinds of G-flex mix up in a 1:1 ratio, so you just squeeze out equal amounts of resin and hardener (or as close as you can get, at least; there does seem to be some margin for error).
I performed this task in a couple of steps, stuffing a bit of thickened G-flex into the gap, letting it harden up a bit, and then stuffing in some more G-flex until the gap was filled:

I filled the right gap first, and then the left gap. Each time I had the boat rolled up on its side so I'd get as much help from gravity as possible.
And so, that hole is now sealed up, but I can open it anytime I want. After the G-flex cured I trimmed and sanded off as much of the messy excess as I could from the deck. The hatch almost looks like a little turret:

I suppose if I wanted to be cute I could stick a little machine-gunner doll back there. Or, if I had an infant child, I could install a baby seat. Maybe some future owner of this boat can do that.
No comments:
Post a Comment